Customer Project
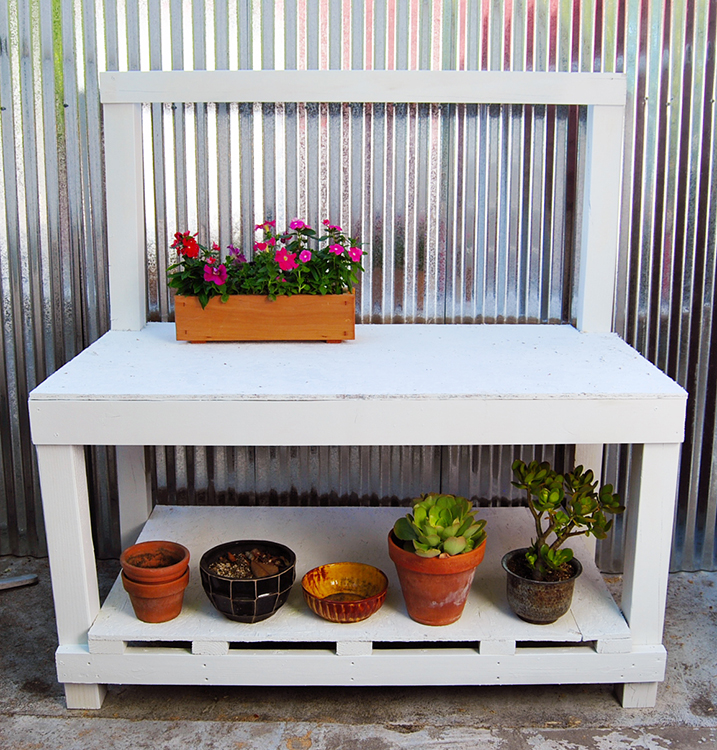
Potting Bench
Browse Projects
-
Estimated Time
4 Hours
-
Challenge Level
Intermediate
-
Tools & Supplies:
-
Tape Measure
-
(2) 63x4x4” Wood Boards
-
(2) 33x4x4” Wood Boards
-
(3) 60x2x4” Wood Boards
-
(5) 33x2x4” Wood Boards
-
(2) 60x 4” Pine Boards
-
(1) 60x33x 1/2” Plywood or Medium-Density Fiberboard
-
(1) 53 x 33 x 1/2” Plywood or Medium-Density Fiberboard
-
Handsaw or Jigsaw
-
Sandpaper: grit 220
-
2” Deck Screws
-
Drill
-
- Wearing safety goggles, measure and cut all wood pieces using a handsaw or jigsaw.
- Sand the edges of each wood piece with sandpaper.
- Attach one 60x2x4” board to two 33x4x4” boards. This will serve as bottom support for the front of the table. Place it 4” from the bottom, and attach pieces with deck screws and a drill.
- Do the same for the rear legs by attaching a 60x2x4” board to each 63x4x4” board, again 4” from the bottom.
- Flip each leg assembly on its side. Attach a 2x4” board from the front legs to the rear to create a square, connecting the table together.
- Stand the table right side up, and attach the front apron (60” pine board) evenly with the top of the 4x4” board.
- Attach the remaining 60x2x4” boards to the back of the legs at the top to complete the frame.
- Evenly space and attach the 33x2x4” boards across the bottom.
- Set the 53” plywood piece across the bottom, and screw it into place.
- Measure cutouts for the back of the top piece of plywood so it fits around the rear legs, approximately 5x3 1/2”.
- Place the top piece of plywood across the table, and attach.
- Attach the remaining pine board as a header piece to connect the rear legs at the top. Use it to hang tools or support a rear pegboard.
- Apply a couple coats of spray paint to the potting bench, and allow it to dry.


